

What is iCloud Photo Library?
It is an Operating System which is built in iOS and MacOS. Hera you will learn how can you manage or customize your photos and videos. So follow all step by step on your iPhone and upload photos and videos in iCloud Photo Library.
The iCloud Photo Library is a great feature built into Apple’s iOS and macOS operating systems, but right now it’s a little foreign depending on how you manage your photos and videos. Follow how to set up this feature on your various Apple devices as well as upload photos to the iCloud Photo Library.
The two biggest benefits of using the iCloud Photo Library are that all your devices (and the web) have an integrated photo and video library, and you have less space on your devices as your library may shrink.
How to turn on iCloud Photo Library
First, let’s make sure the iCloud Photo Library is online, and then see how it works. Make sure you have a backup of your devices before enabling this feature.
How to turn on iCloud Photo Library on iPhone and iPad.
The pictures below show these steps on the iPhone, but the same steps apply to the iPod.
1. Get started with a device with a lot of photos and videos (if not now on your Mac)
2. Locate and tap Settings to make sure you are connected to a WiFi network
3. Tap your name at the top, then tap on iCloud (if you are running iOS 10.3 or later, you will see iCloud below General instead of your name)
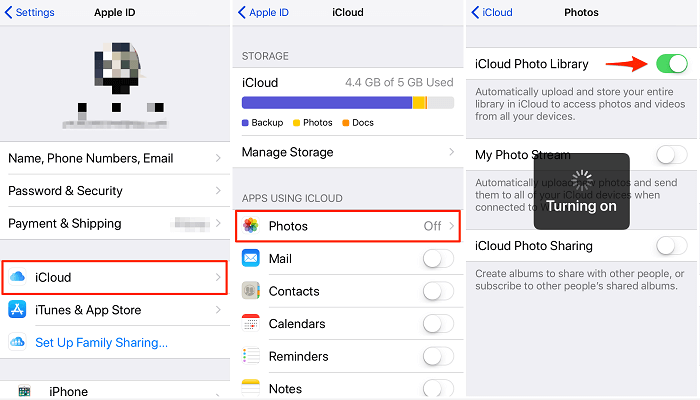
4. Tap on the photos
5. Toggle the toggle on the right side of the iCloud Photo Library and turn it on if it already exists (green)
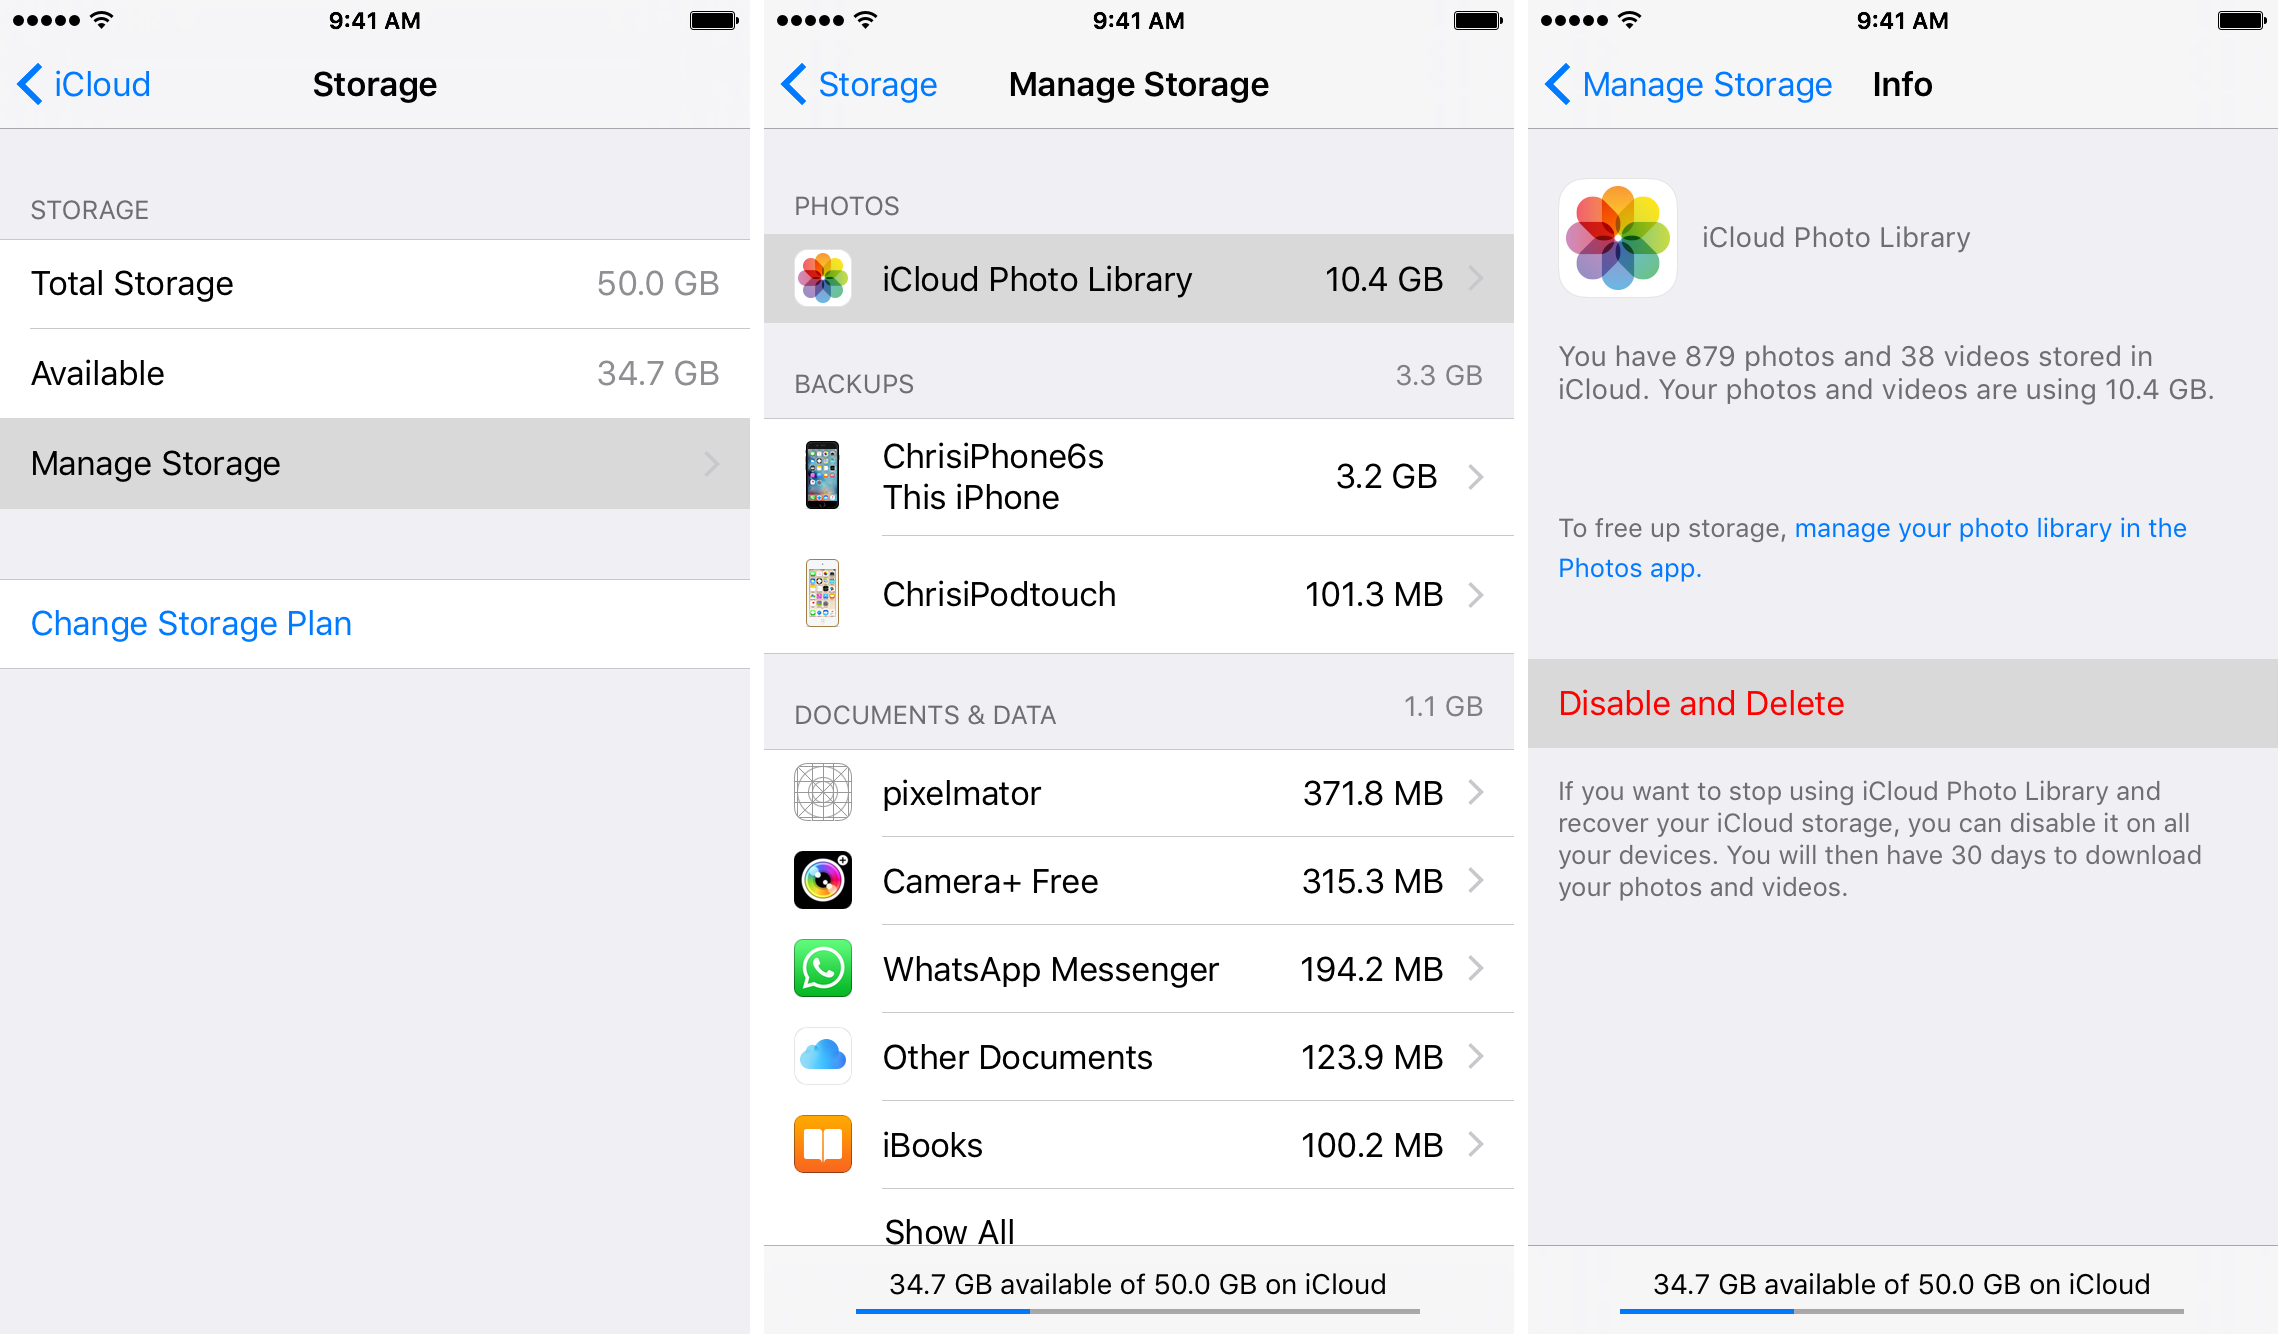
6. Optimize iPhone storage or download and save the original
Choosing to optimize if you have less than iPhone storage will shrink your iCloud photo library by storing low-resolution pictures and videos on your device and saving full resolution versions in iCloud.
Keep in mind that the iCloud Photo Library uses up your iCloud storage and in some cases, you may need to upgrade to a larger storage plan.
The upload process can take more than an hour depending on the size of your photo library. All photos and videos on your iPhone or iPad Camera Roll will be uploaded. You can check the status above as shown on the right in the image above.
How to on iCloud Photo Library on Mac
As mentioned above, back up your Mac before turning on the iCloud Photo Library.
1. Make sure your Mac is connected to the WiFi network
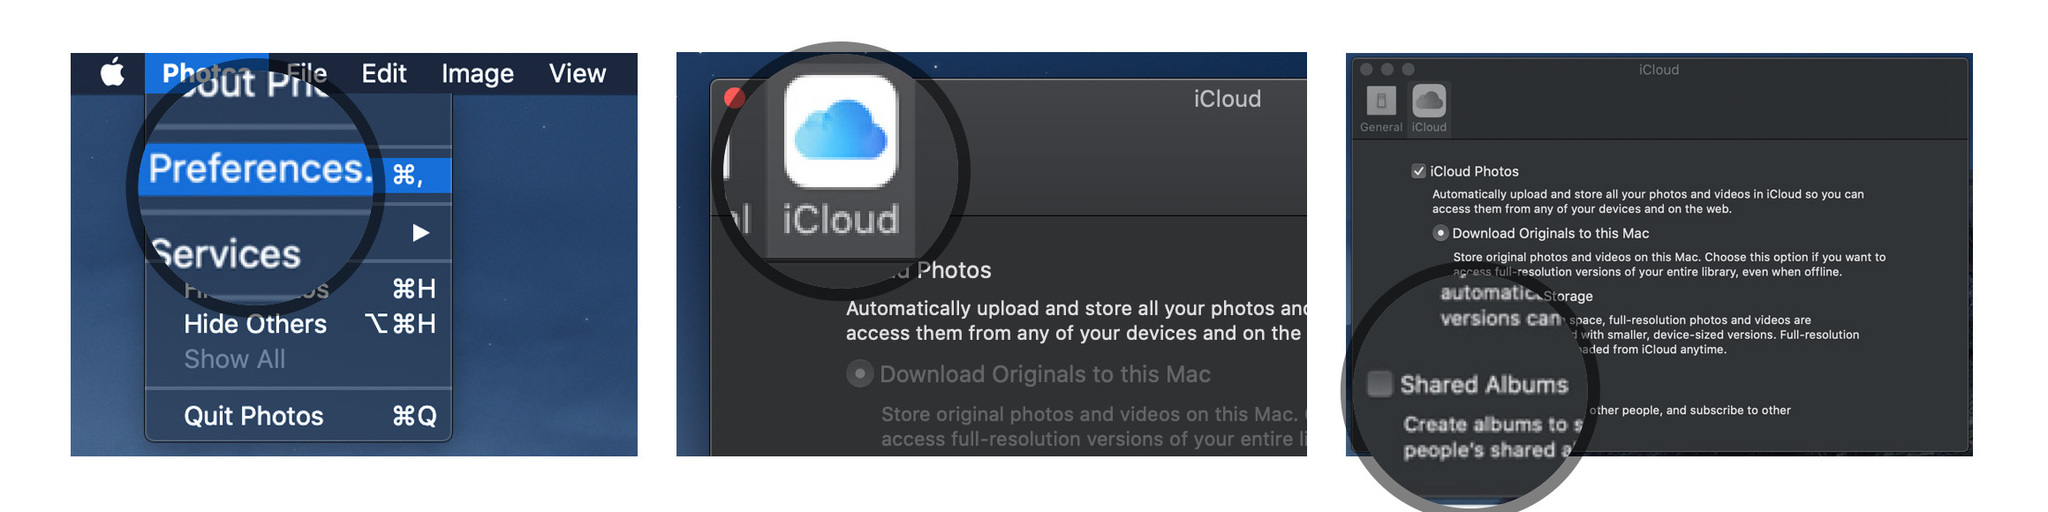
2. Launch the Photo app and click on Photos in the upper left corner
3. Click on Preferences
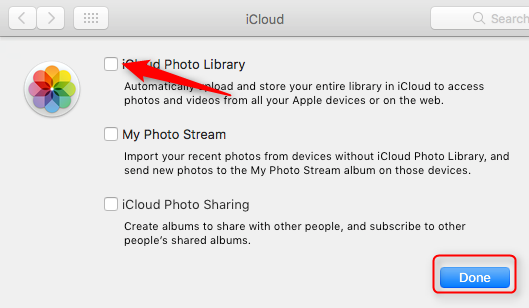
4. Click on the iCloud tab
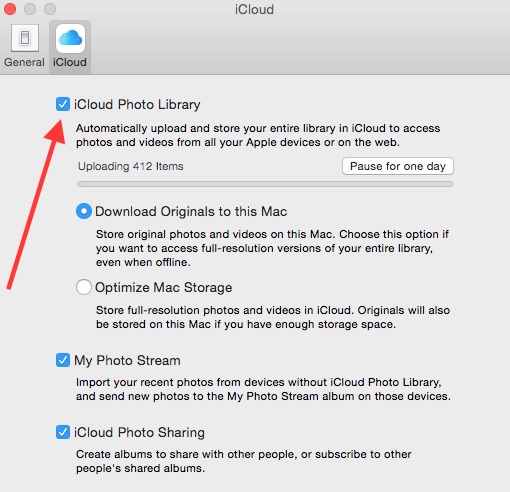
5. Click on the checkbox next to the iCloud Photo Library
6. Download the original to this Mac or click Optimize Mac Storage

Once the process has started, it may take a few hours to upload all your photos and videos to the iCloud Photo Library and complete the process.
When you first turn on the iCloud Photo Library on your Mac, don’t forget to enable it on your iPhone and/or iPad.
How to upload photos to iCloud Photo Library
Now let’s take a look at the initial process (the longest part) and look at the iCloud photo library in use.
How to upload photos from Mac to iCloud photo library
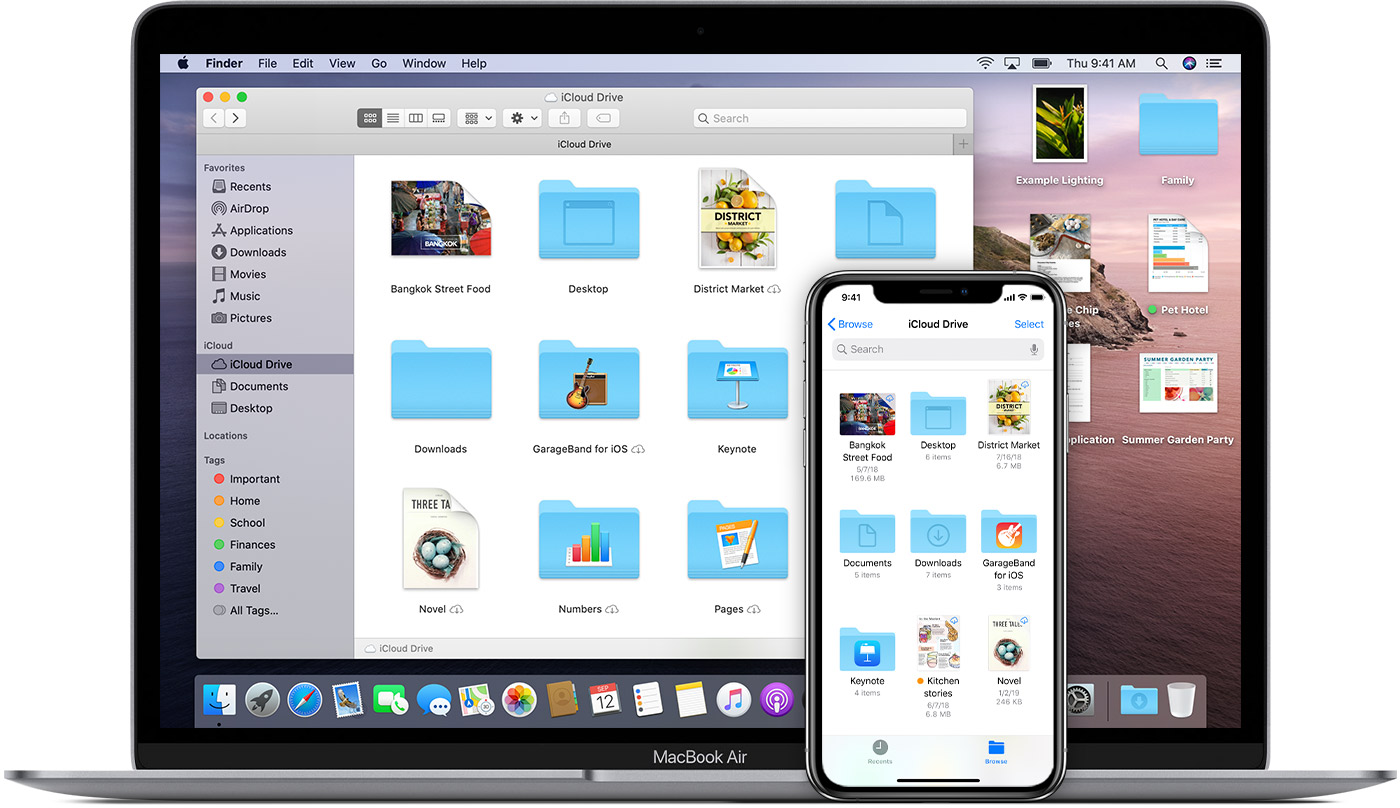
Once the initialization process is complete with the iCloud Photo Library, it is very easy to upload more content from Mac. Dragging photos and apps into the photo app is very easy.

Drag photos directly into the app from your desktop or finder as shown in the image above.
When you turn on the iCloud Photo Library, anything you add will immediately appear on iCloud.com and all your Apple devices.
New photos will appear as shown above and then upload status will appear at the bottom of the application window.
You can open photos on an iPhone or iPad to make sure everything is synced. As soon as you connect to WiFi you will see the newly uploaded images.
In the third and fourth images above, I selected a new wave photo, pressed the edit button, and selected a new filter.
You can see below that my edit is synced to my Mac. Also, two screenshots I took on my iPhone were automatically uploaded to my iCloud Photo Library, which can be viewed on the Mac below.
It does not matter which source you import photos into the Photo app, they will be automatically uploaded to the iCloud Photo Library when the feature is turned on. If you delete a photo from one device, it will be deleted from all devices.
How To Upload Photos From iPhone And iPad To iCloud Photo Library
When the iCloud Photo Library is turned on, any photos or videos you take or download to the camera roll will be automatically uploaded to the iCloud Photo Library. As mentioned above, this includes screenshots that you take.
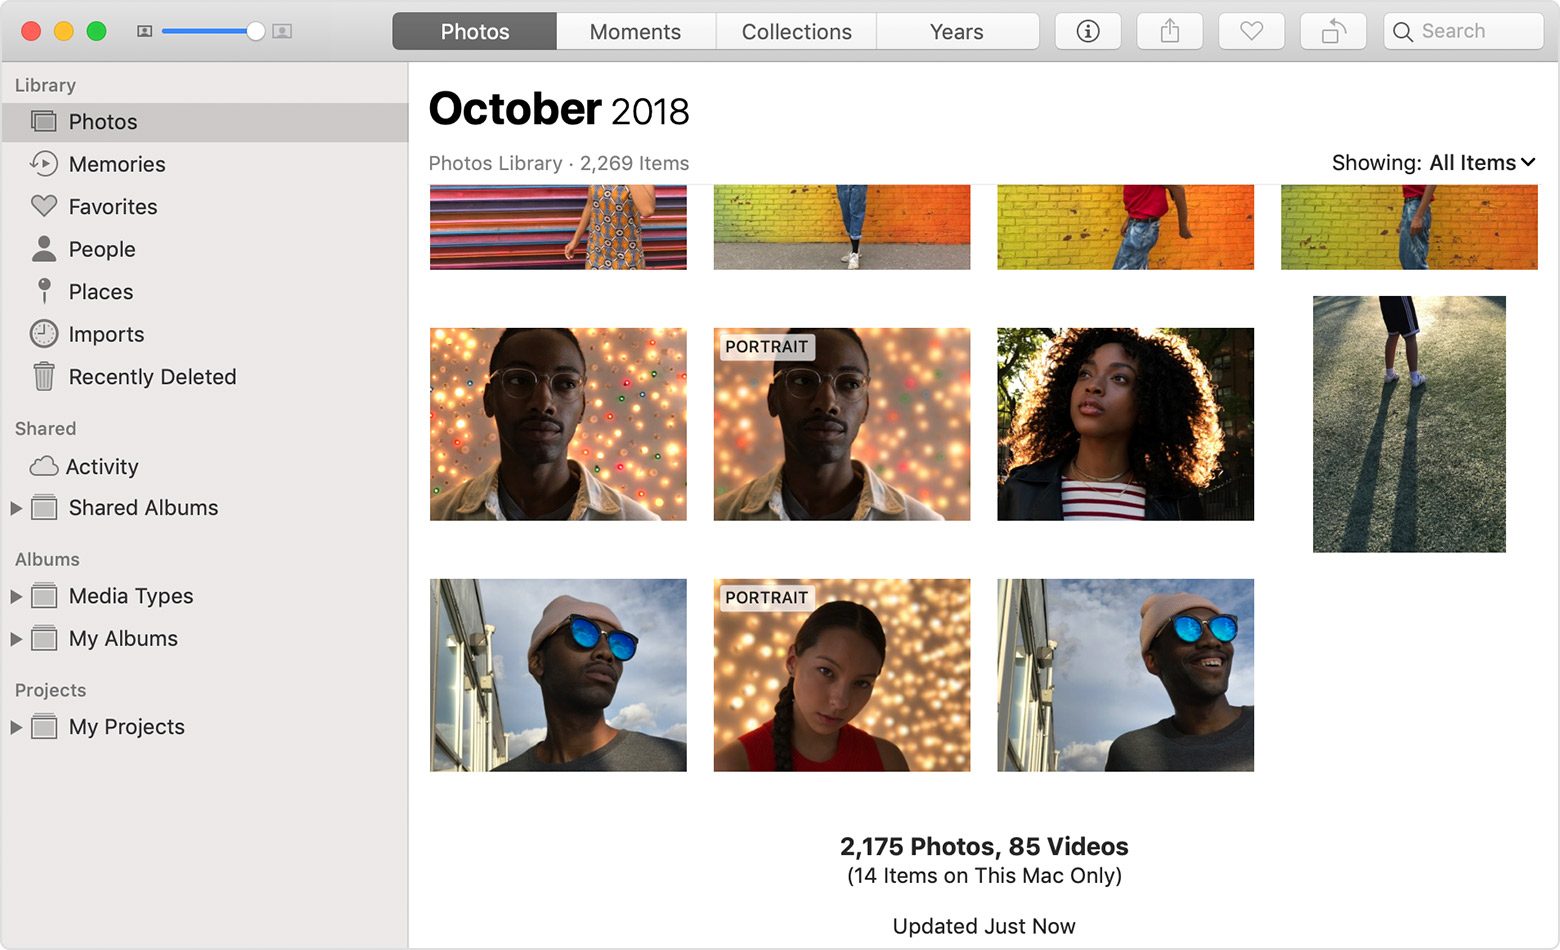
The image below shows the grass and the photo outside and the photo of the cat I took with my iPhone. These images will be automatically uploaded to the iCloud Photo Library and automatically downloaded to my Mac.
How to view and upload photos from iCloud․com to iCloud Photo Library
1. Navigate to icloud․com and login with your Apple ID and password.
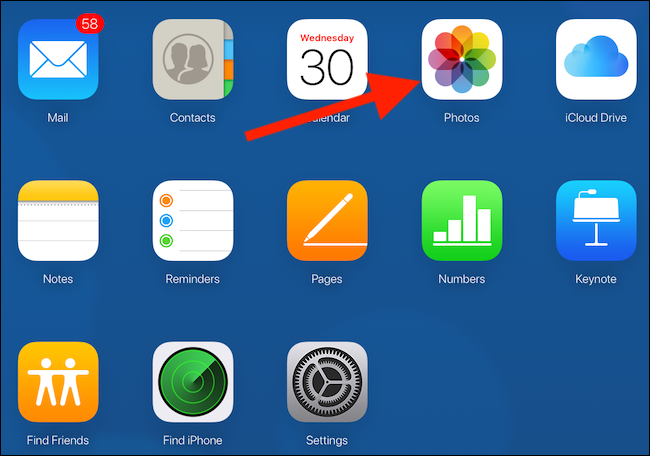
2. Click on the photos.
3. If this is your first time viewing your photos on iCloud.com, it may take some time to create your iCloud photo library.
Now you can see all your photos and videos just like on your other Apple devices. Below the bra photos, window is a timestamp with the latest update of your photos and videos.

If you delete a photo or video from photos on iCloud․com, it will remove that item from all your devices.
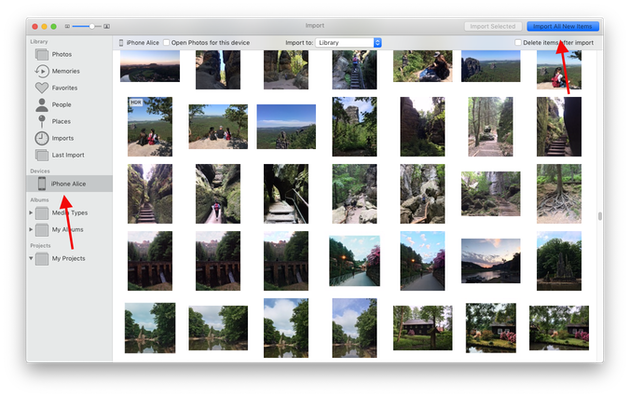
To upload content from any computer with iCloud.com to your iCloud photo library, click on the cloud icon with the arrow at the top as shown in the image below.
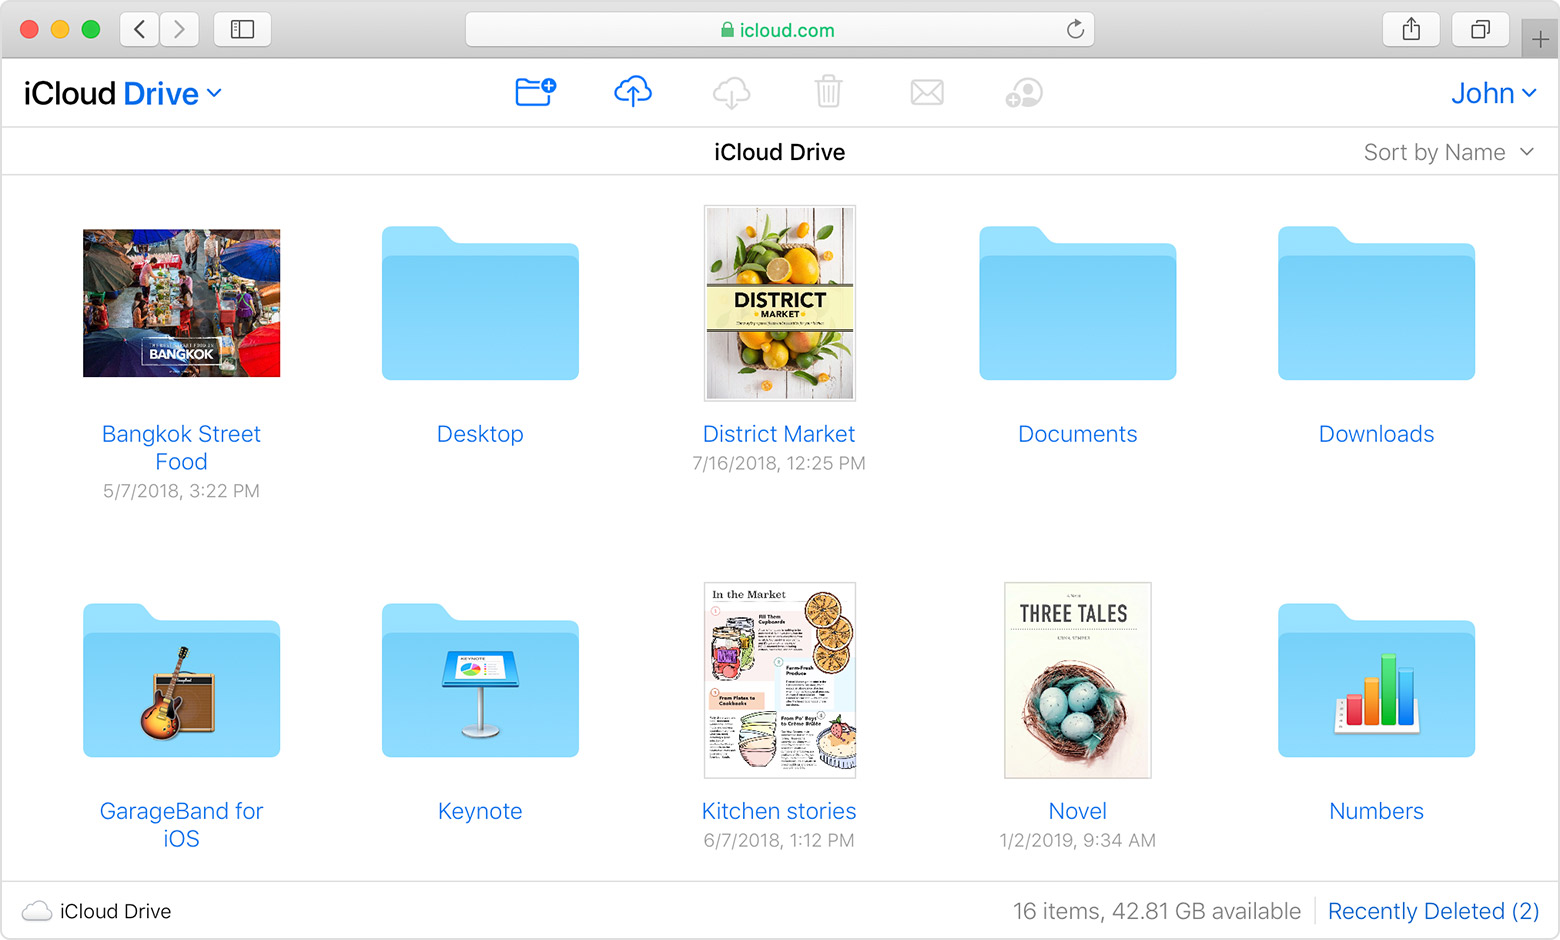
Then use the finder window to find and select what you want to upload. Click Select when ready.
If you uploading many things then it will take many times to uplaod in iCloud Photo Library which you can notice on the status in the bottom center of the browser window.
When the all the process will complete then your content have to synchronized across all of your Apple Devices and icloud․com. So, you need an better WiFi connection to complete all this things.